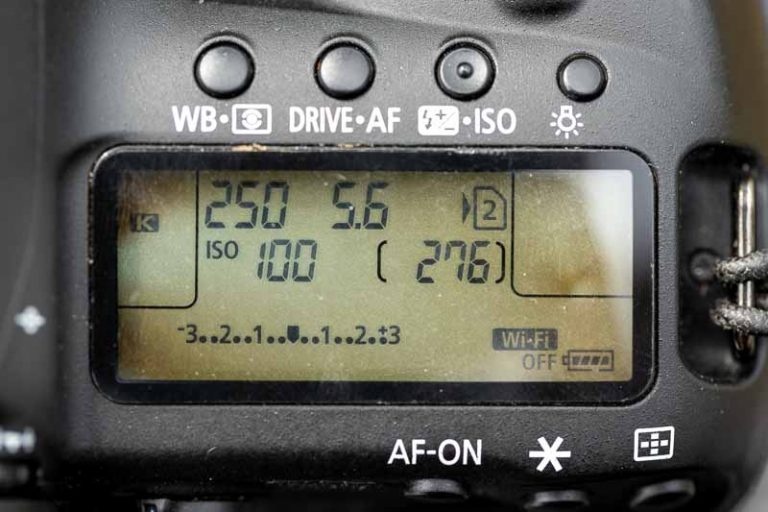
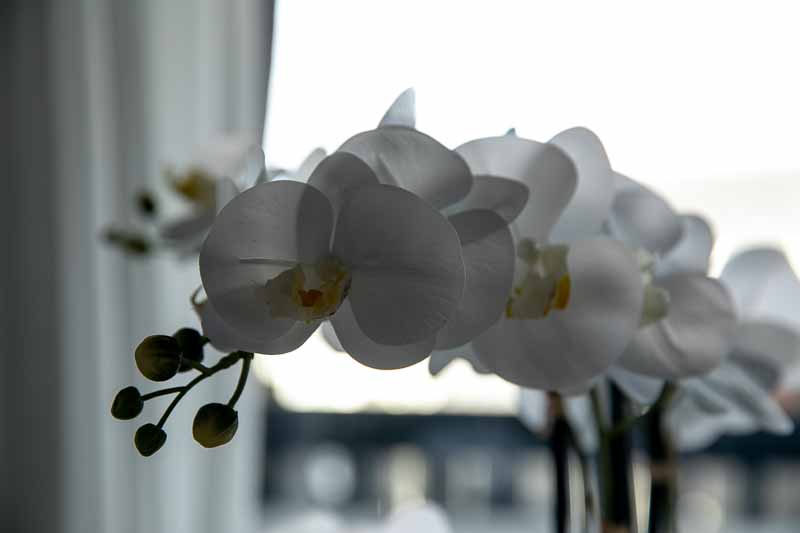
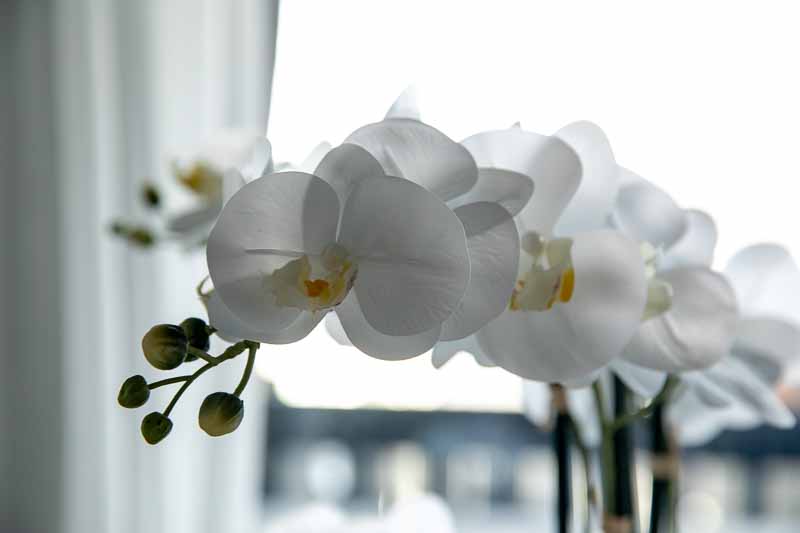
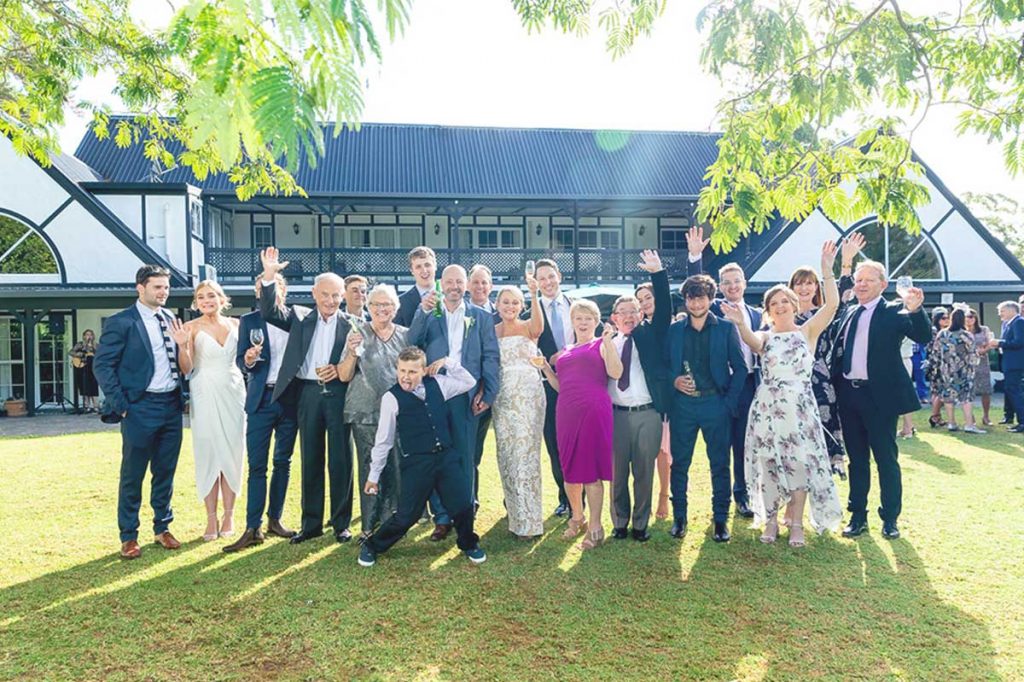
Photography Talk 2, Exposure Compensation

Photography Talk;

Light Meter and Exposure Compensation

Tips 2 - 2020

-- Instruction for smart phone users bellow! --

Under and Over Exposure

Short Answer; Exposure determines how light or dark and image will be. You can under exposure (gives a darker photo) or over exposure (gives a brighter photo)

In detail; whats important to understand is that correct exposure doesn’t necessary mean a great image. The light meter is there to give you an indication of where you are at with the exposure.

In all modes except M; The in-build exposure meter in your camera calculates the light over the whole image - highlights to shadows - and automatically change your camera settings with the aim to achieve an image with a midrange light, whats refereed to as 18% grey.

You access the Exposure Meter by clicking the bottom that has the symbol +/- inside a square, this functioned is called Exposure Compensation (not to be mixed up with flash exposure compensation, in some cameras they are under the same bottom/menu !)

Cant find your Exposure Compensation?
- See top screen of your camera, if not there try
- Look on your back display, its normally placed on the bottom (if it is set to 0 some camera models is hiding it. Refer to your manual to find out how to find it)
- The exposure meter is also visible in your viewfinder (If your camera has one)

It is important to understand that -in most models- the Exposure Compensation bottom does not work in the Manual Mode, you need to be in either P, A or S (TV). In Manual mode you have to manually compensate for the exposure by using either shutter speed, aperture or your ISO.

Struggle with getting started with M?
- Quick Tips; try f/8 - 1/250 - adjust your ISO until the Exposure Meter indicates 0)

Examples of an Over Exposed image

By overexposing an image you are exposing after the shadows, you are ensuring the shadows got details while the highlights may get washed out. This technic is very useful whenever you have a bright background and your subject is in the shade.

Even Exposure ( 0 ) Subject appears dark due to bright background
Over Exposure ( +1 ) Image is slightly over exposed to brighten up subject

This technique is often referred to as High Key, but it’s important to remember that a High Key images is Not just an overexposed image, it’s an image where you have chosen to expose after the shadows with the light coming from the side or back, that often causes a lens flair.

High Key-ich?

In this photo I have exposed after the shadow - the highlights are blown out - and later on added a bit of contrast in postproduction.
Its not quite high key, but close.

Photo: Ida Larsson
Wedding: Nickie and Shaun

Examples of an Under Exposed image

By underexposing an image you are exposing after the highlights, you are ensuring that the highlights got details while the shadows becomes very dark. This technic is very useful whenever you have a dark background and your subject is in the light.

Even Exposure ( 0 ) Subject appears a bit bright due to dark background
Over Exposure ( +1 ) Image is slightly under exposed to bring out all the details in the highlights

This technique is often referred to as Low Key, but it’s important to remember that a Low Key images is Not just an underexposed image, its an image where you have chosen to expose After the Highlights with a dark background.

Low Key

In this photo I have exposed after the highlight, in this case the models skin. Note how the image is dark, but it is not under exposed, it is just Low Key.

Photo: Ida Larsson
Model: Shana Lang
MUP: Julie Clark

Exercise Recommendation:

If you struggle to see the light, it’s a great exercise to practice by only taking photos in black and white for a while. By removing all colours you remove a distracting element and teach you to see the light only. Why don’t trough in a square aspect ratio 1:1 while you are at it, push yourself a little!

Change you Picture Style setting in your camera to Black and White.

This will help you to start seeing the light – contrast -angle and -shape

For Smart Phone Users

You can do above explained exposure changing by simply -on iPhones- tap on the screen where you want the camera to focus, then slide your finger up to over expose it (add more light) or down to under expose (remove light) this is the LAST thing you do before taking the photo. Every time you tap the screen you are activating the cameras light meter and it will read the exposure from wherever you tap.

Click on Photo to Watch Video

Remember!

There is not right or wrong. You as the photographer determines how the final image will appear. Not if you have the correct exposure or not.

Whats Next?

Next Month Photography Talk; Exposure Triangle, Step 1: Aperture!

To find out more about our Private Photography Coaching click here.
Find previous monthly Photography Talk Tips here.

Quote of the Month:

“Give light, and the darkness will disappear of itself.”

– Desiderius Erasmus


Ida Larsson 
Funder and photographer
White Lynx Photography

(+64) 022 494 8569

Info@whitelynxphotography.com
www.whitelynxphotography.com 

Samples of what we do; business and promotional portraits, high-end products.
Prev Coffee Scrub Promotional Material
Next Photography Talk, Exposure Triangle - Aperture

Comments are closed.

Photo by Ida Larsson, White Lynx Photography