Photography Talk, Exposure Triangle – Aperture
Photography Talk;
Exposure Triangel - Aperture
3 - 2020
-- Instruction for smart phone users in the end! --
Photography Talk;
Exposure Triangel - Aperture
3 - 2020
(Instruction for smart phone users in the end)
Aperture - Shutter Speed - ISO
Aperture
- Let's Concur the Exposure Triangle; In the First Corner We Got the Aperture!
In Short; your aperture is the hole that lets in the light into your camera.
In Detail; f-stop is how you refer to what aperture you are shooting with.
F-stop is the size of the hole the aperture creates,
so its the same thing yet technically not quite.
Its important to understand that the aperture is inside of your lens,
so the variation of sizes it can be depends on what lens you use
- not your camera!
A physically large aperture hole is referred to as a wide aperture and is a small number. A physically small aperture hole is referred to as a narrow aperture and is a high number. You close or open your aperture to remove or add light in the form of “stops”. A stop of light is how light is measured, it is just as 1 litre of a liquid or 1 kg of something; 1 stop of light.
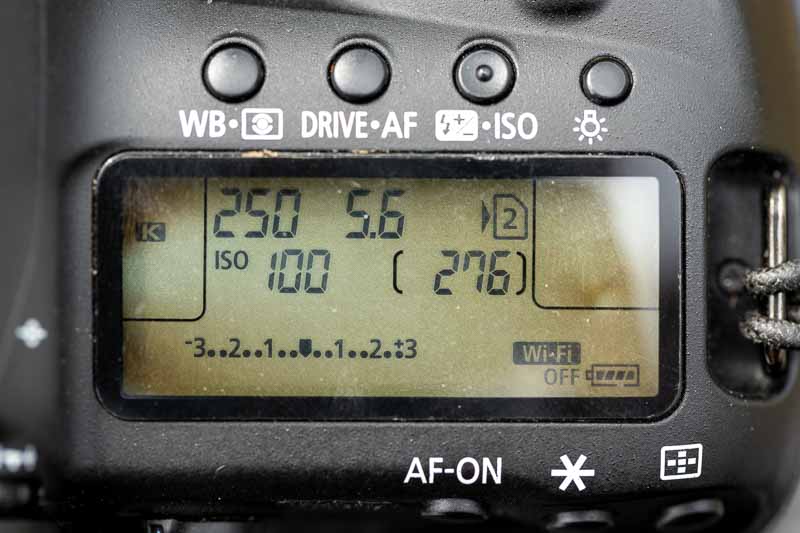
Remember:
It is important to understand that modern digital cameras counts thirds off stops. These are the two small dots between each full stops on your exposure meter.
Full-Stops
The Main Aperture Numbers Are Referred To As “Full Stops”.

(If you ever have shot an analog camera, these numbers may look familiar - they are still the same)
The trick with the aperture numbers are that if you double it you loose two stops of light and the other way around. f/8 is a standard aperture, if you double it - you got f/16 - the difference in light between f/8 and f/16 is two stops less light. The difference between f/8 and f/4 is then… you guest it right - two stops more light, cause you are increasing the size of the aperture hole.
Depth of Field
To understand how the aperture effects the look of your image you need to understand the term Depth of Field or DoF; it is what is sharp in your image, and how sharp that sharpness is.
It can be referred to as shallow (thin, short) or deep (long)

The colours of the aperture holes in the picture above is indicative only and is there to give you an idea of the overall average optical performance of most lenses, this varies form lens to lens. This will be very useful to know when we are finishing off the exposure triangle with our dear friend ISO so remember that!
Camera brands top of the line lens range (Canon L series, Nikon N series, Sony GM series for example) tends to have a wider “green” (sharp) range and no direct “red” not so sharp f-stops.
(Please remember that above picture is an illustration and indicative only.)
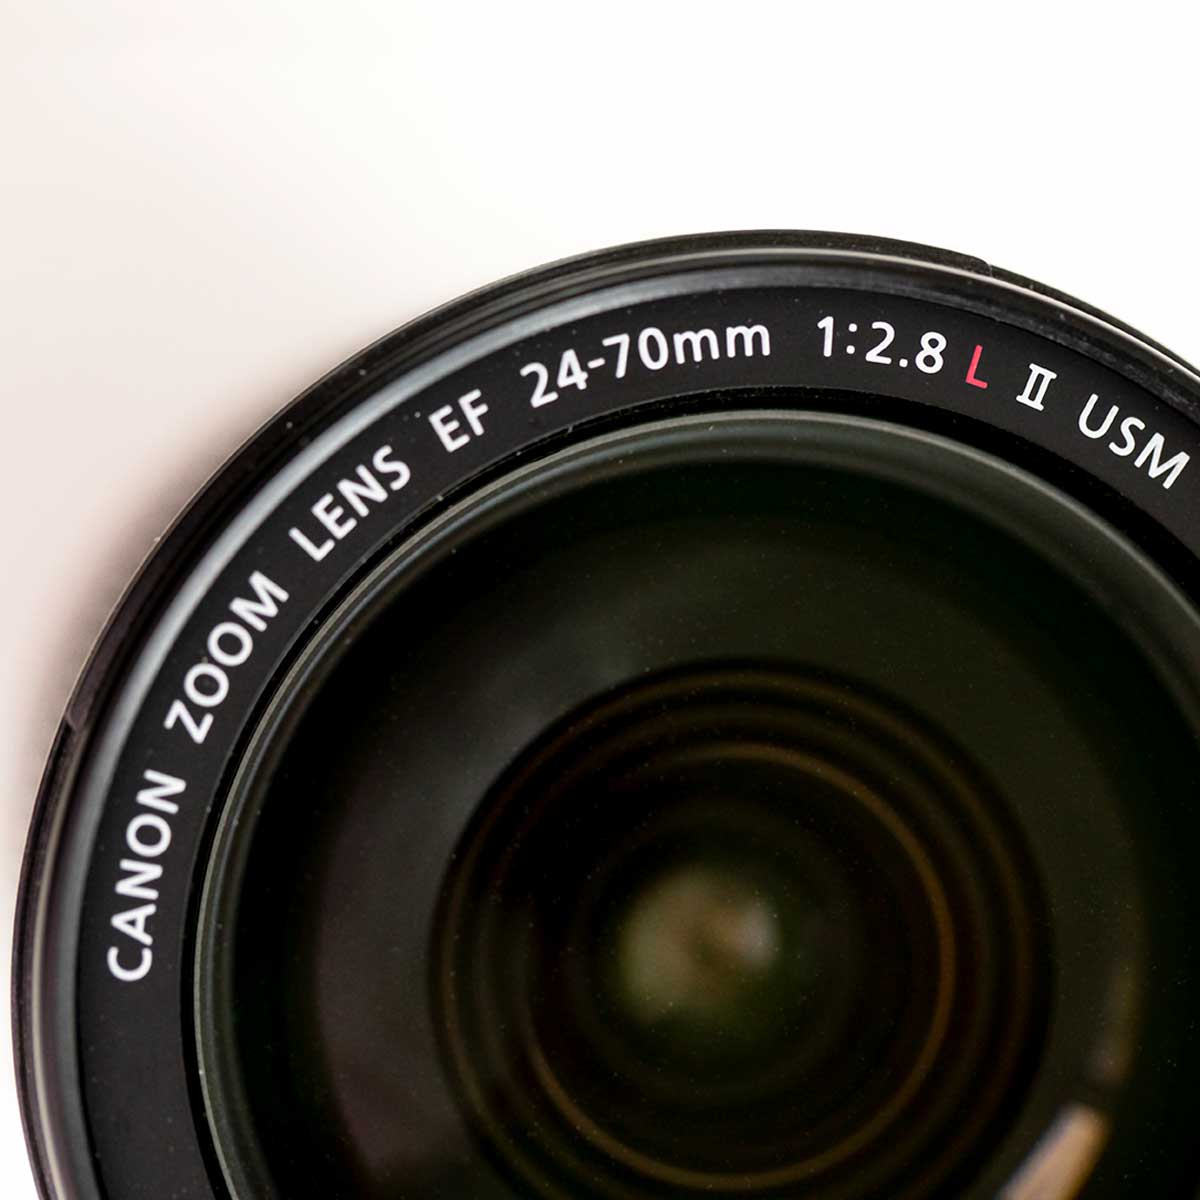
What Does the Numbers Mean?
Canon Zoom Lens EF 24-70mm = Focal Length & 1:2.8 = f/2.8 is the Maximum Aperture
Closing down your aperture (choosing a higher number) doesn’t give you a sharper picture just a longer sharpness!
Most lenses has their sweet spot -their best optical performance- between f/8 and f/11 (in above indicated in green) Decreasing the aperture past f/16 won’t give you a “sharper” picture, since it starts to cause whats referred to as diffraction. When the aperture opening is very small (for example f/32) the light will disperse when passing trough it; it simply diffracts, this will give a less sharp image than a midrange aperture will.
A very big part of being a photographer is to make a decision to where the fine line between a sharp picture and long Depth of Field is.
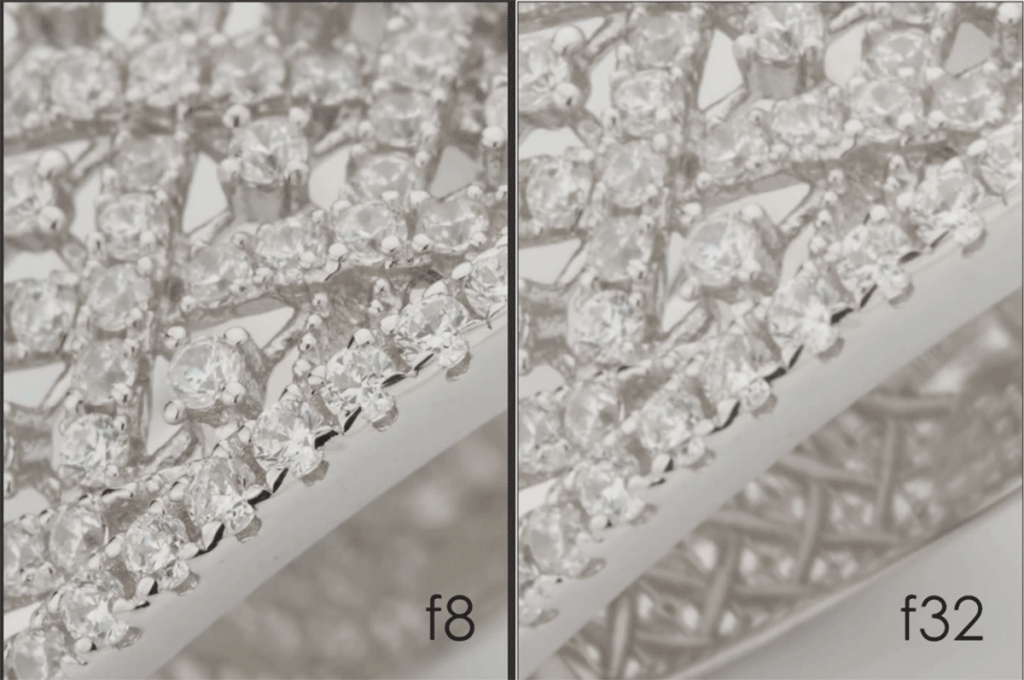
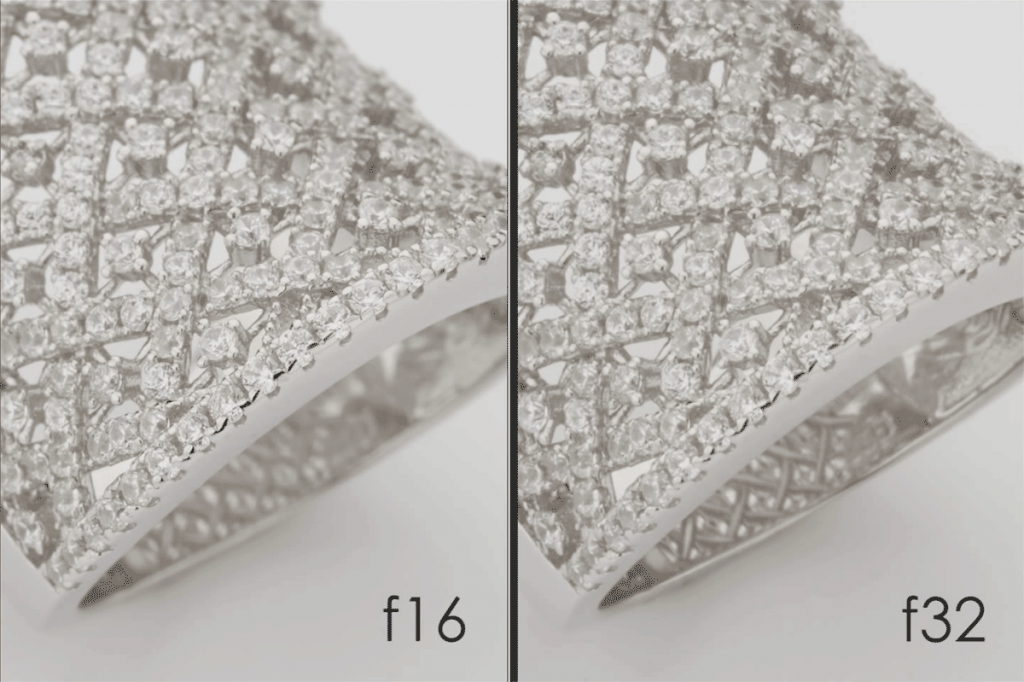
As shown above; f/8 is sharpers but doesn’t provide a long enough depth of field. f/32 does technically give you a long enough depth of field, only problem being is that it is simply not sharp enough.
This is something you will have to practice with your won gear, but I often find myself (with my 30 MP camera) shooting around f/14 – f/16 while on my lower MP camera I can go slightly higher and still achieve satisfactory sharpness.
Above Jewllery examples are borrowed from Vadim Chiline. He has some great videos explaining diffraction and how it effects different cameras differently (based in its MegaPixels) You can view a video where he explains it or visit his website Epic Mind bellow.
Catch 22
Nature and Landscape photographers tend to like really high megapixel cameras cause the image they produces can be blown up bigger without loosing details, they also tend to shoot on high f-stops to get the whole image sharp, but the more mega pixels your camera has - the easier it develops diffraction! How do one get around that? One way is to do what is referred to as Focusing Stacking, but that's for another Newsletter...
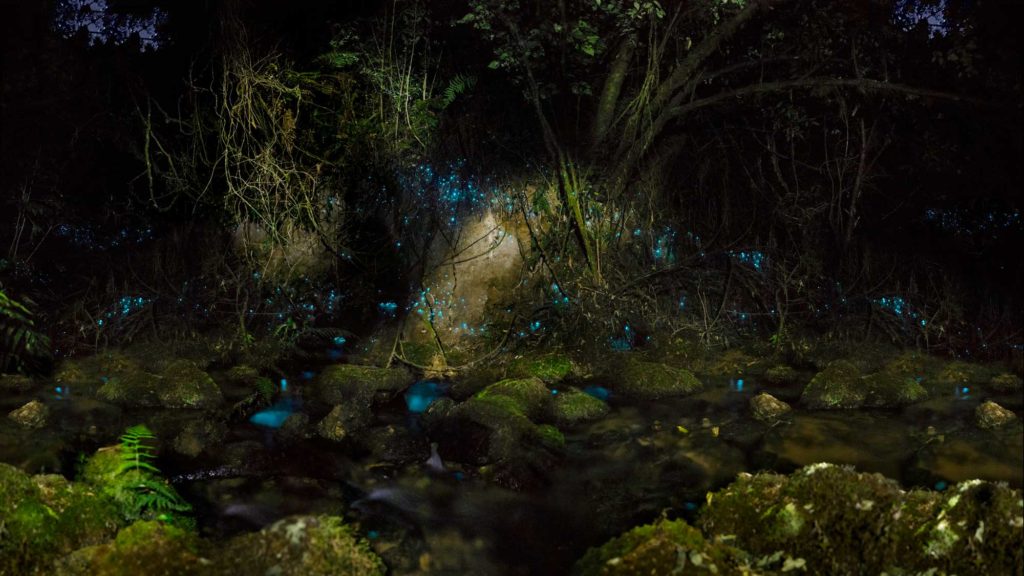
Guidlines:
Indicative Only
Singel person f/x – f/5.6
Group photos f/8 – f/11
Landscape and Architecture f/8 – f/16
Astro f/5.6 (Sharp but wide aperture)
Macro f/5.6 (avoid getting to narrow DOF)
Products f/8 – f/16
Singel person
Group photos
Landscape and Architecture
Astro
Macro
Products
f/x – f/5.6
f/8 – f/11
f/8 – f/16
f/5.6 (Sharp but wide aperture)
f/5.6 (avoid getting to narrow DOF)
f/8 – f/16
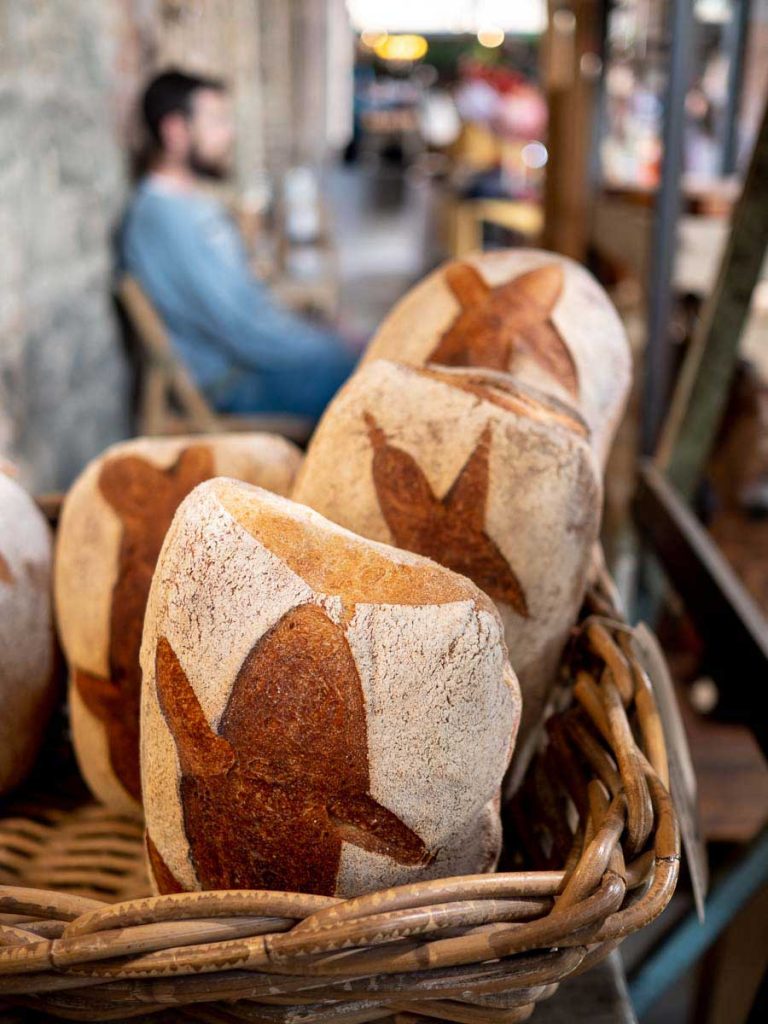
Exercise:

For Smart Phone Users
There is a large number off apps out there that makes your phone camera behave more like a manual camera, like the 645 PRO (for iPhones) this app lets you control the shutter speed and ISO, colours, light metering and much more.
A lot of modern phones allows you to “manually” change settings like your aperture; on an iPhone you tap the portrait mode - a f Number will appear in the top corner - tap it and an aperture dial will appear on your screen. It’s important to understand that this is only a simulation of how it would look to change the aperture, you actually don’t change the physical aperture in your phone. It is a simple blur effekt that the phone creates. This is why you get problems if you are wearing a green top in a green field or a light blue top against a similar blue sky…


When the subject is clear to seperate from the background the blur effect is very effektive. However…
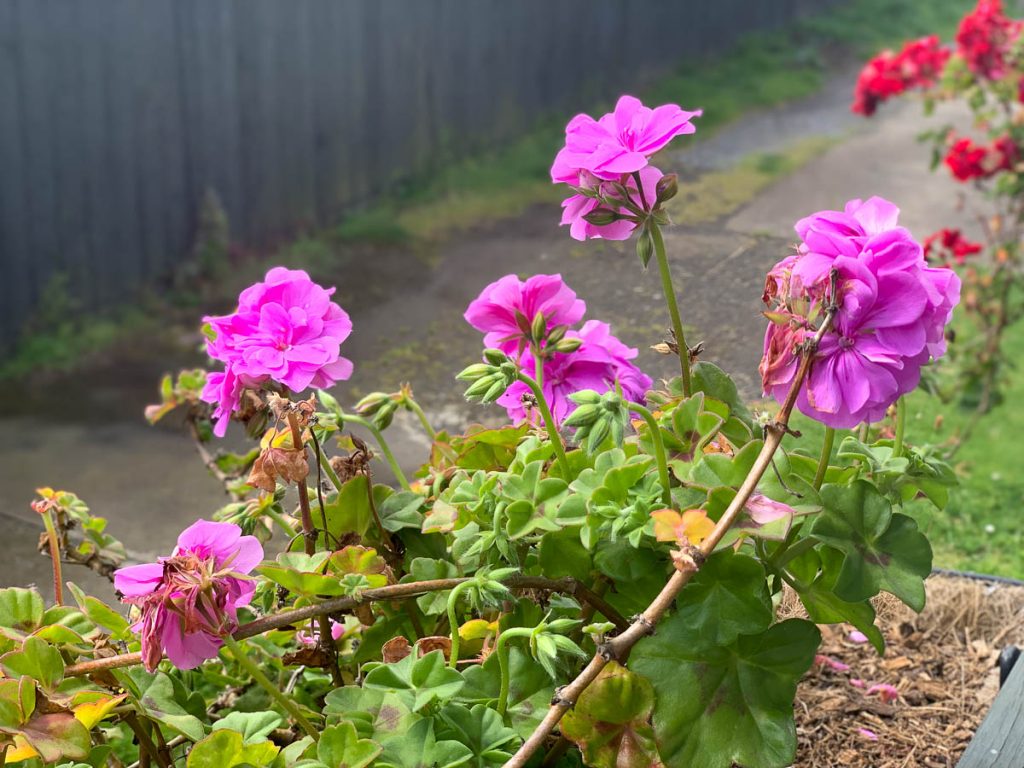
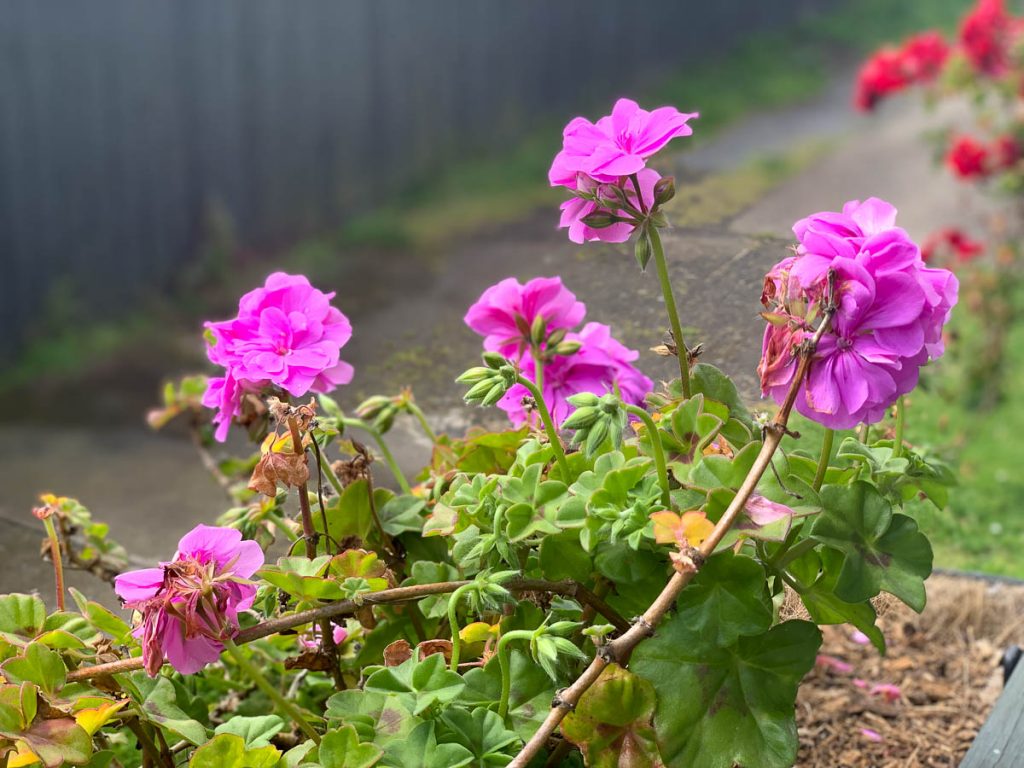
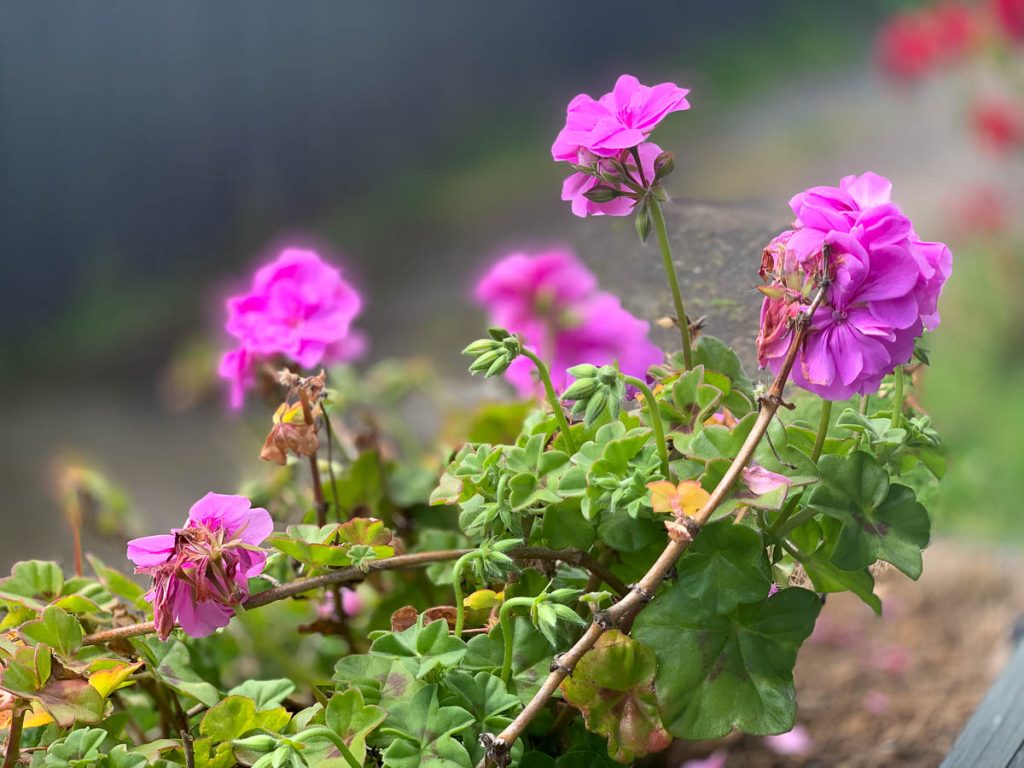
… when subject is harder the define, like with fine details, the blur effect becomes uneven. Note how the same spot between the two flowers stays “un-blurred”.
This feature wasn’t designed to photograph flowers with, I just wanted to illustrate how the blur effect works in comparison to the aperture in an actual camera. If you had actually controlled the aperture in the phone -like with a camera- this unevenness would not have accrued.
Remember!
There is no right or wrong. You as the photographer determines how the final image will appear. Not how out of focus or sharp your image is.
Whats Next?
Do You Need Photography Gear?
Go and see the amazing team at Auckland Camera Centre!

Quote of the Month:
“However vast the darkness, we must supply our own light.”
– Stanley Kubrick
Ida Larsson
Funder and Photographer
White Lynx Photography
(+64) 022 494 8569
Info@whitelynxphotography.com
www.whitelynxphotography.com

Comments are closed.

