Photography Talk, Exposure Triangle – Shutter Speed
Photography Talk;
Exposure Triangle, Shutter Speed!
Tips 4 - 2020
APERTURE - SHUTTER SPEED - ISO
Shutter Speed
- Let's Concur the Exposure Triangle; In the Second Corner We Got the Shutter Speed!
In short; The shutter speed is the time it takes your camera to take the picture. Most cameras allows the shutter speed to vary from 30” seconds to 1/4000.
- 30 sec will give you lots of light
- 1/4000 will give you very little light
In Detail; The shutter speed is the time your cameras sensor is being exposed.
Entry level cameras max shutter speed is normally 1/4000 and 1/8000 in the higher end cameras.
Mirrorless cameras has the option of choosing an electronic shutter, rather than a mechanical shutter, which can go as high as 1/32 000!
For example; an a mirrorless camera the so called Silent Mode uses the electronic shutter rather than the mechanical, since it is quiet.

Remember
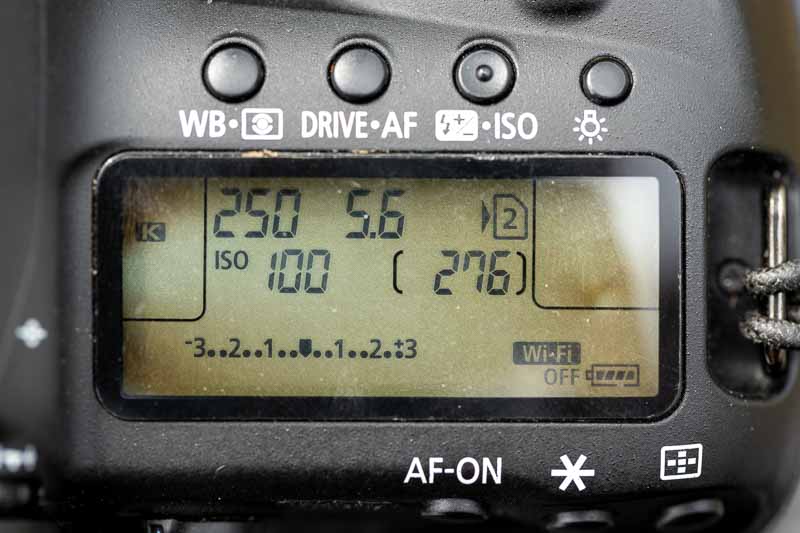
If you are in AV (A) or TV (S) or P your camera will automatically compensate for any increase or decrease in light.
You need to be in M to actually see the difference changing the shutter speed does to the exposure.
(Make sure your ISO is not set to auto, this will override the changes)
Full-Stops
The trick with shutter speed is that by doubling or halving the number you are decreasing or increasing the light with One Stop.
- Increasing your shutter speed from 1/250 til 1/500 (doubling) you have decreased the amount if light coming in trough your shutter with One Stop.
- If you decrease your shutter speed from 1/250 til 1/125 (halving) your have increased the amount of light coming through your shutter with One Stop.


Remember
You speed up or slow down your shutter-speed to remove or add light in the form of “stops”.
A stop of light is how light is measured;
it is just as 1 litre of a water, 1 kg of flour - 1 stop of light.
The Active Choice
So why does Shutter Speed matter?
By choosing a specific shutter speed you decide how the photograph will look, this is an important part of being a photographer - to make a conscious decision every time you take a photograph.
See bellow examples of the power of you Shutter Speed.
Make Sure You
Freeze Properly!
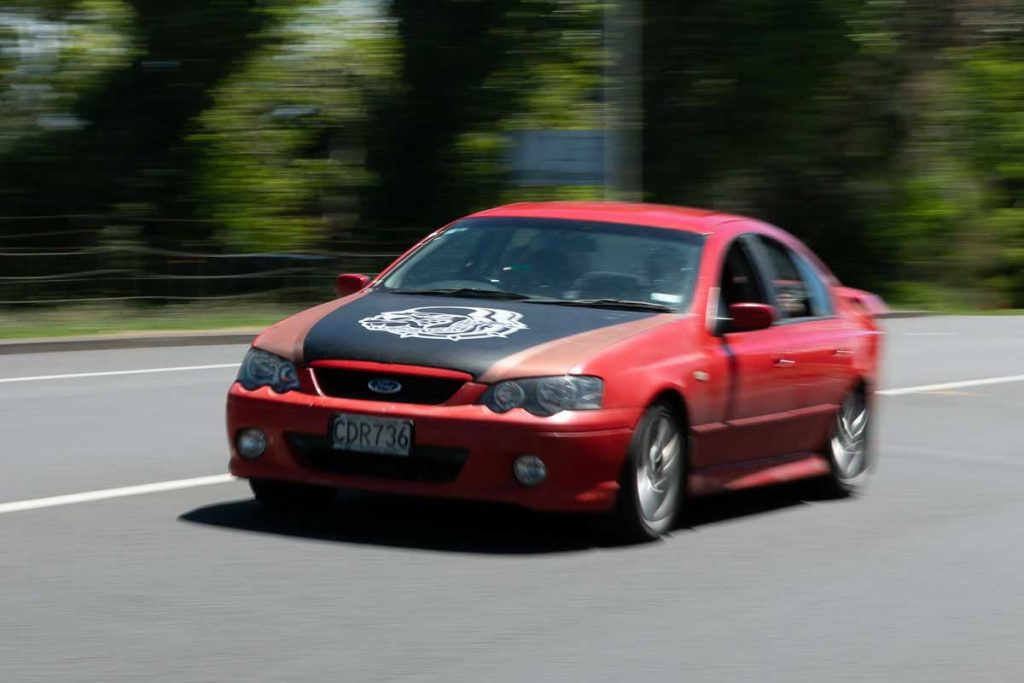
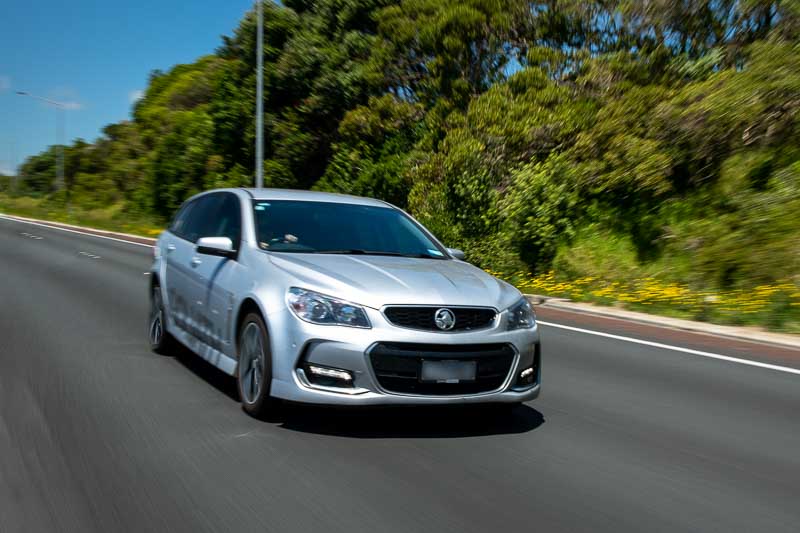
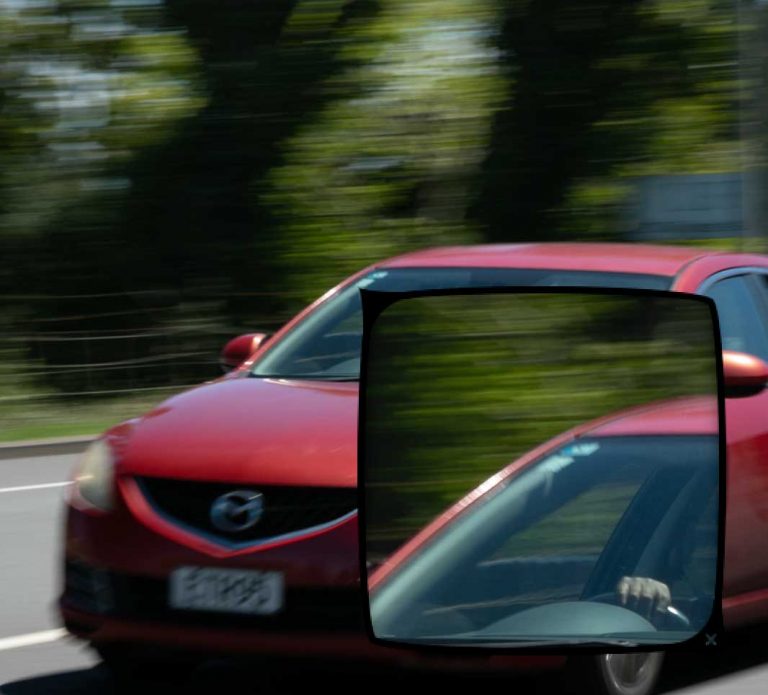
Can you tell the difference between the following photos?
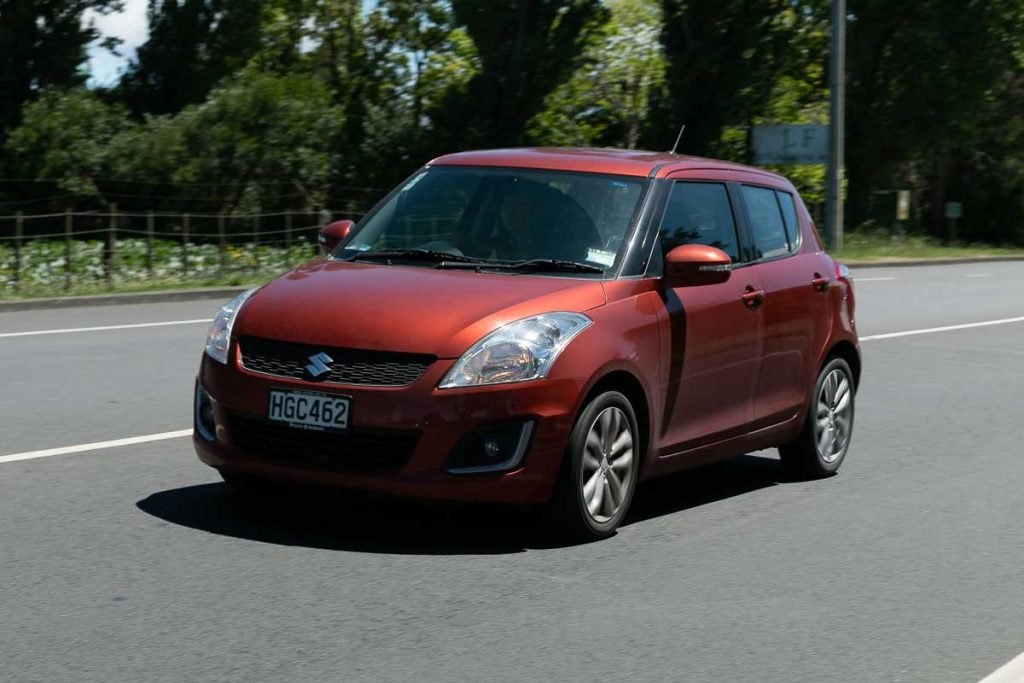


Look at the wheels and the background. On the first photo there is still movement, but on the second one – the car could be parked in the middle of the road from what we can see!


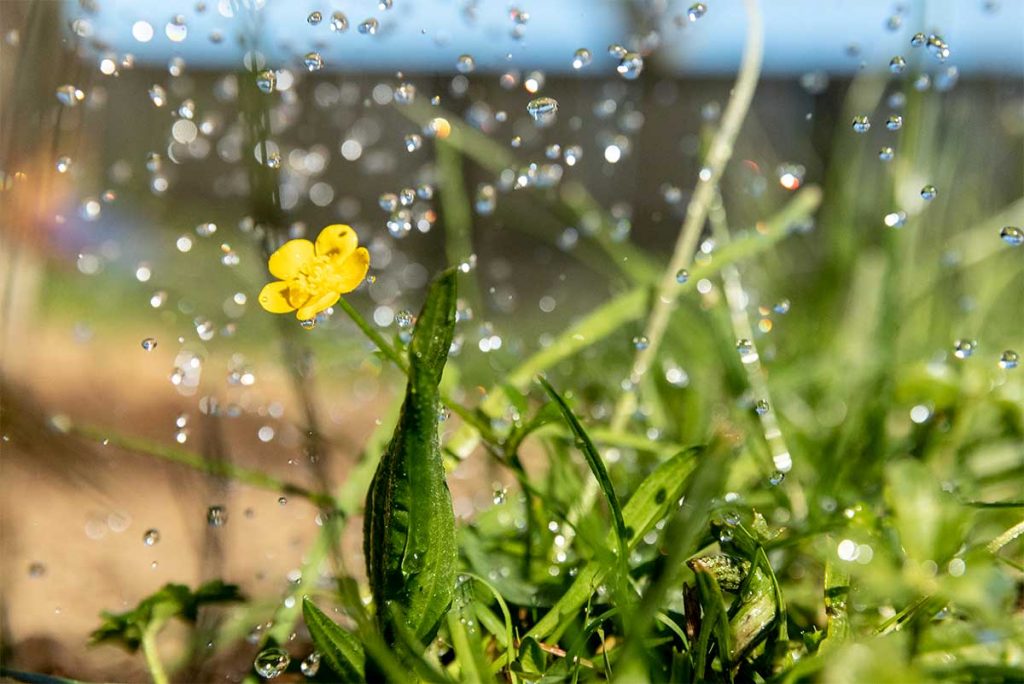


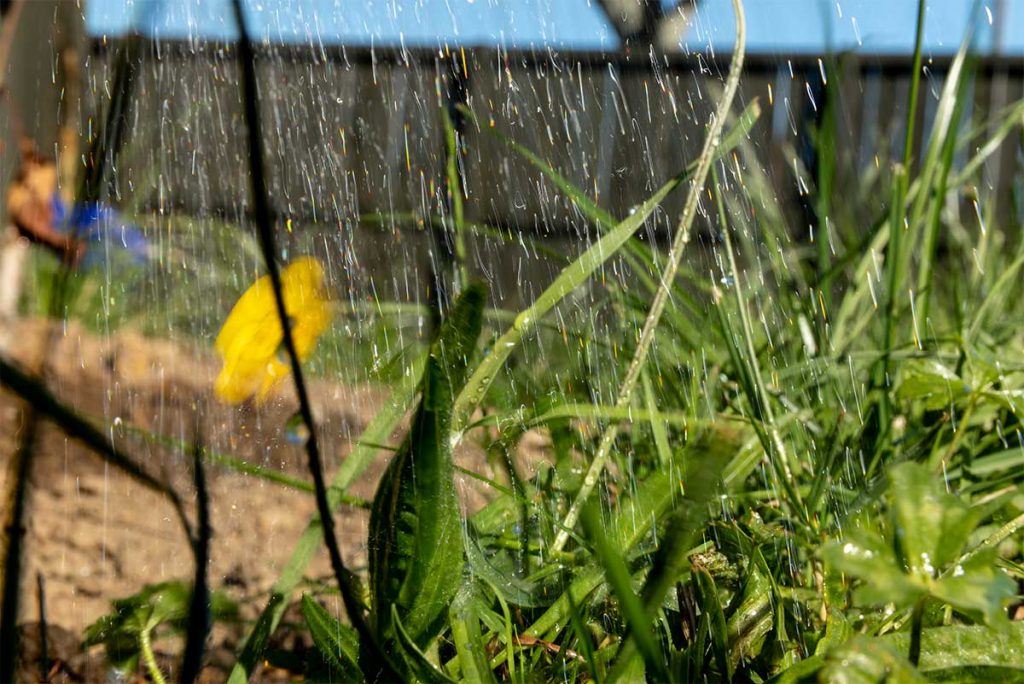
The droplets on the first photo aren’t quite round, while on the second photo they are completely frozen!
Freeze Properly
Or NOT.
Bellow Image is a typical example fo where I decided Not to freeze completely, since I wanted the motion of the splash to come trough - Instead of frozen INC drops midd air.
(specially noticeable on the right side)


Or use
Flash
The flash freezes everything it hits. Thats why flash is an amazing tool for low light photography, specially when you do portraits.
What is Camera shake?
Camera shake is an accidental blur that has to do with the camera shaking. This can be either in your hands or due to some other forces; if you have the camera on a tripod close to a heavy traffickated road this for example can cause enough vibrations in the ground to cause camera shake. Or if you are on a floating jetty even the smalls waves can cause camera shake.




The slower shutter speed the most likely you are to get camera shake. There is a grey zone between 1/15 to 1/125 for handheld shooting where most people end up around 1/60 to avoid camera shake. A slight Camera shake will make the photo appear as not quite sharp. With some practice you can learn how to shoot on slower shutter speeds, as slow as 1/30.

What Shutter Speed shall I use?
Rule of Thumb
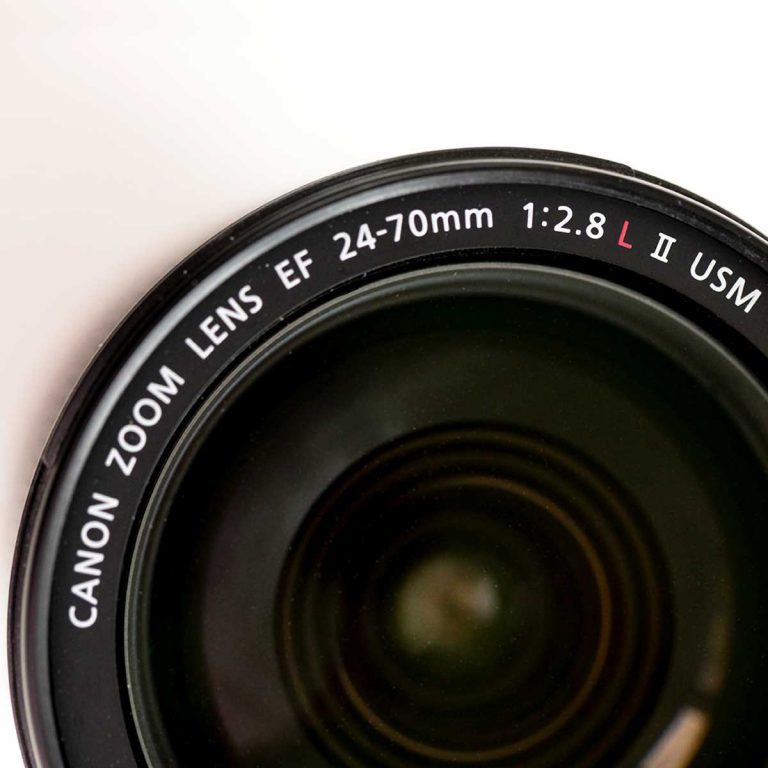
The higher focal length (longer zoom) you shoot on the higher shutter speed you need to use.
The rule of thumb (on a none stabilised lens) is to use a shutter speed that is double to you focal length.
If you are shooting on a 50mm lens you should be using a shutter speed that is 1/100 or greater.
Panning Vs Freezing
Creative Ways To Use Shutter Speed
Freezing your subject is pretty straight forward - just use a fast enough shutter speed to freeze the subject. However, panning can be a bit tricky!
Depending if your subject is moving -or you are moving yourself- you can use a slower shutter speed to create different effects.
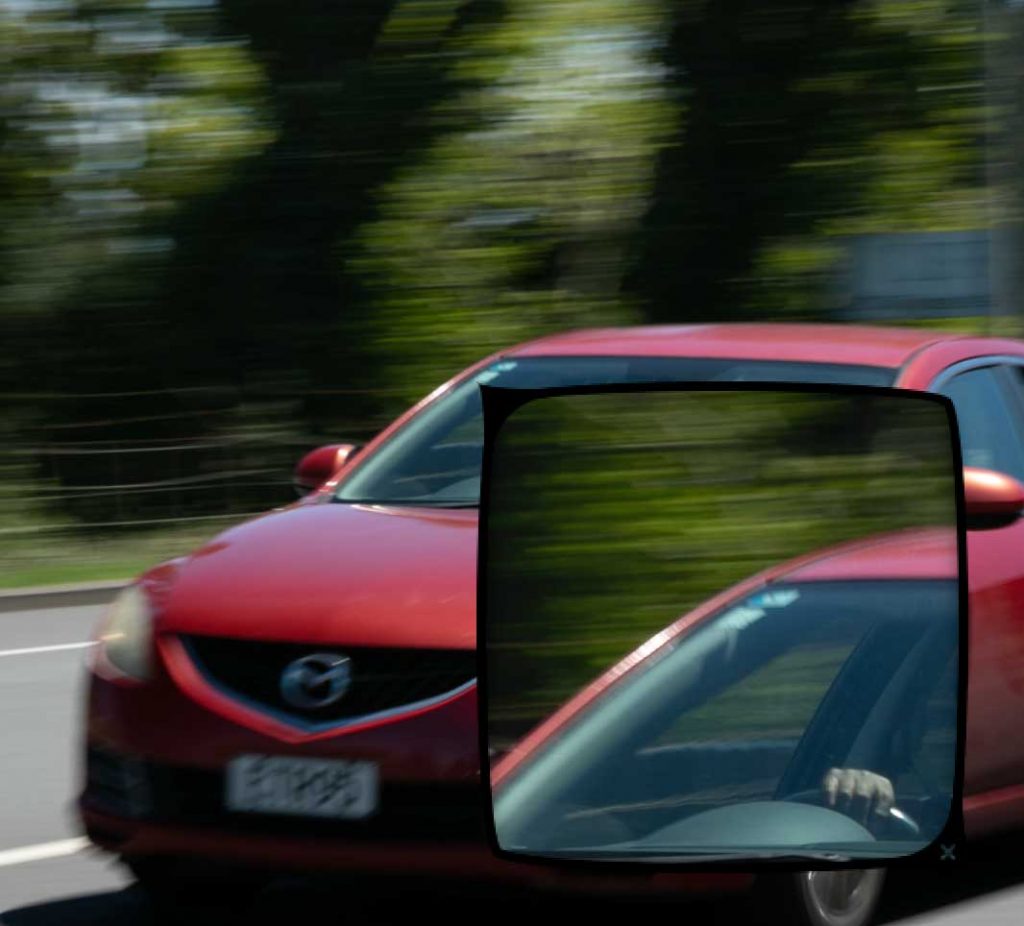
You can follow the subject (move the camera) during the exposure or you can simply be moving yourself in the same speed as the subject (from for example a car, as in example above) Note how different the effects are, and that the background behind the subject is sharp but the sides are not.
Image Stabilised Lens
My lens gives me X light stops, how does that work??
If you have an image stabilised lens, find out how many stops that particular lens gives you in combination with your camera.
Some lenses have a much more efficient Image stabilisation than others; 2 stops use to be the standard but most modern lenses offers 4-5 stops. Brands like Olympus for example has lens and body combinations that offers you an incredible 7-stop image stabilisation! There is images taken hand held on a 30sec exposure with this amazing Olympus cameras.
But how does it give me stops?
The image stabiliser allows you to shoot on a slower shutter speed without getting camera shake. This is how it gives you X stops of light.
This is particularly useful on big zoom lenses. Following the rule of thumb mentioned above; if you shoot on focal length 200mm you should use a shutter speed of 1/400. If you have a 4-stop image stabiliser you can theoretically shoot on 1/25 and still get a sharp image!! This is incredible.
(Please remember that any moving subjects such as moving people or trees may get motion blurred)
Bellow Examples are shot on Shutter Speed 1/60.
Step by Step problem solver
Got blurry images?
Have you got a blurry photo but not sure why?
Here is some tips of how to identify what is causing it;
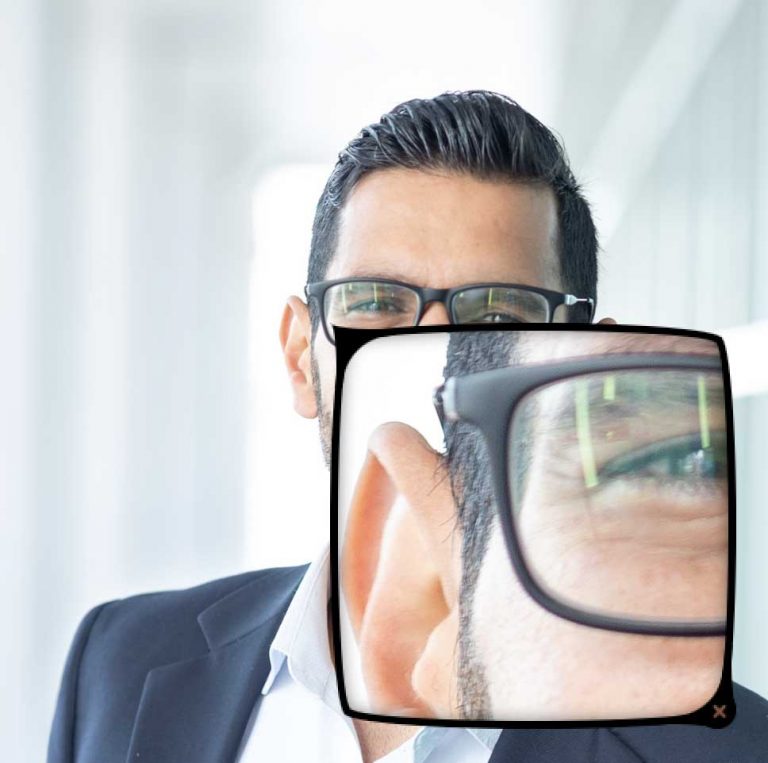
- How is the bokeh (out fo focus area) looking? Is it even/round?
- Yes; then your are must likely having a miss focus issue, look to see what is sharp in the image! Is the shoulder sharp? or the foreground? The ear as in example bellow?
- No; read on…

- Is the bokeh made up by uneven lines? (This is easiest to identify when viewing a light sources in your photo, like a street lamp or stars. Letters on signs can be helpful too.)
- Yes; this is most likely camera shake! make sure you are holding the camera still, speed up your shutter speed!
- No; read on…


- Are the lines horizontal?
- Yes; this is most likely motion blur. Commonly refer to ass “panning” effect, have a close look – something is most likely sharp somewhere in your picture. It is necessarily not the part you want to be sharp! speed up your shutter speed slightly and make sure you are moving with your subject.

Guidlines:
Indicative Only
Freezing Very Fast Moving Subject – 1/4000
Water splashing, birds – 1/2000
Cars Minimum Speed – 1/1000
Kidds, Sports, Animals – 1/500
-> General Shooting – “To Go To” – 1/250
Portraits – 1/125
Indoor shooting, low light – 1/60
Evenings, very low ambient light. Will show movement. Consider using a fill in flash. – 1/30
Anything slower and you generally need to use a tripod.
Freezing Very Fast Moving Subject
Water splashing, birds
Cars Minimum Speed
Kidds, Sports, Animals
-> General Shooting – “To Go To”
Portraits
Indoor shooting, low light
Evenings, very low ambient light. Will show movement. Consider using a fill in flash.
1/4000 (Fast as possible)
1/2000
1/1000
1/500
1/250
1/125
1/60
1/30 Anything slower and you generally need to use a tripod.
Struggling with getting started with M?
- Quick Tips; try f/8 - 1/250 - adjust your ISO until the Exposure Meter indicates 0)
Exercise Recommendation:



Remember!
There is no right or wrong. You as the photographer determines how the final image will appear. Not how sharp your image is.
Whats Next?
Quote of the Month:
“Look at how a single candle can both defy and define the darkness.”
– Anne Frank
Ida Larsson
Funder and photographer
White Lynx Photography
(+64) 022 494 8569
Info@whitelynxphotography.com
www.whitelynxphotography.com


Comments are closed.


