Photography Talk, Exposure Triangle – ISO
Photography Talk
Exposure Triangle, ISO!
Tips 4
APERTURE - SHUTTER SPEED - ISO
How to use the ISO
- Let's Finish the Exposure Triangle; In the Top Corner We Got the ISO!
In my many years of teaching photography ISO is -by far- the most common tool in the camera that the general person is scared of using. In this month photography tip I’m going to explain why, and where the fear comes from and lastly - make it go away!
In short; the ISO controls the light “sensitivity” of your cameras sensor. Turning up the ISO amplifies the output of the sensor. Much like when you turn the volume up on your stereo. A high ISO gives more light and a low ISO less light.
In detail; the sensor is the part that replaced the film in your camera when the world went from analog to digital. Changing your ISO speed in your digital camera does the same thing as if you where to put a different ISO-speed film into your analog camera. By adjusting your cameras ISO up or down you simply amplifying the sensors output to more or less light sensitive.
To make it easier to understand let’s refer to ISO as the light sensitivity of your sensor.
Bellow photos are shot for Henderson Reeve.
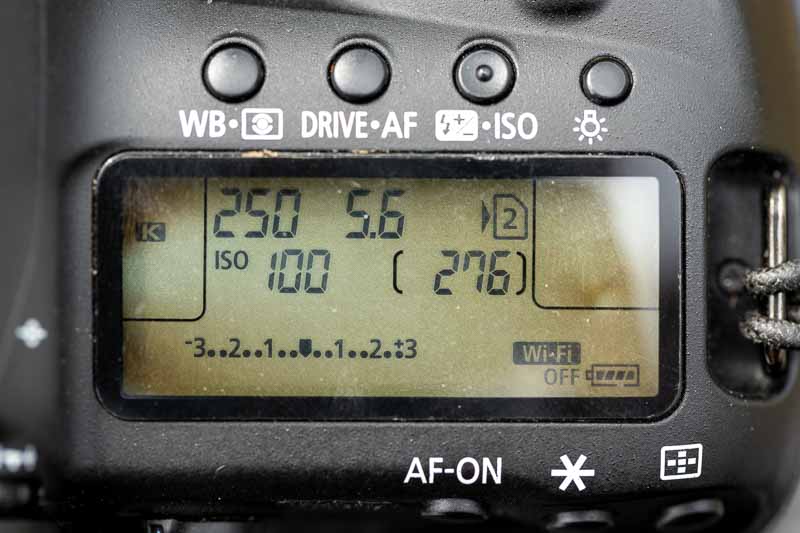
Remember
If you are in AV (A) or TV (S) or P your camera will automatically compensate for any increase or decrease in light.
You need to be in M to actually see the difference changing the ISO does to the exposure.
The final Building Block...
ISO is the final building block when it comes to learn the basics of how to manually control your camera.
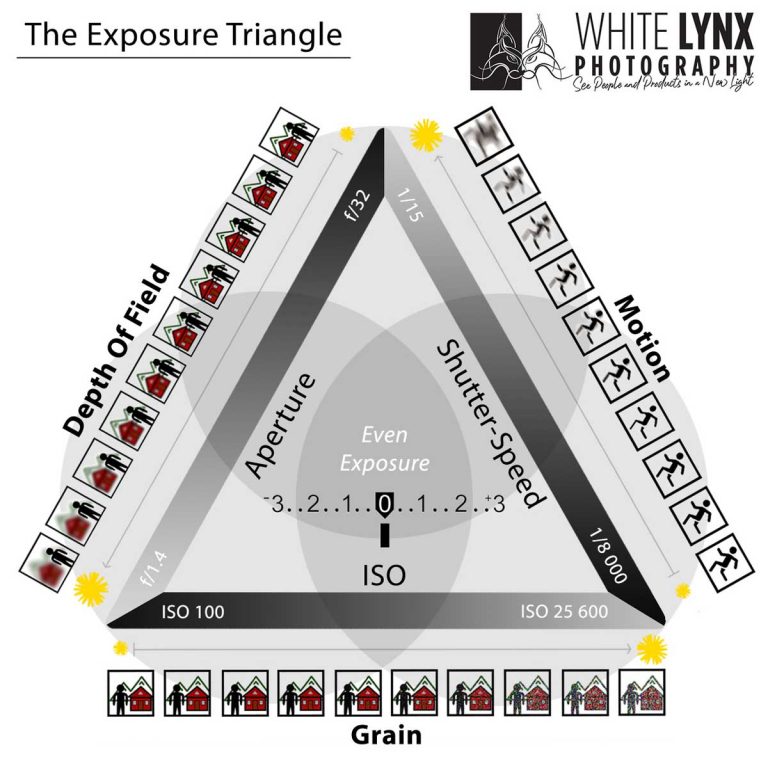
Remember
Recap
You need to know how to use the aperture and shutter speed to fully understand how to make the ISO benefit you the most.
In my October and November Newsletters you where taught how to use the aperture and shutter speed to give you the sharpness you want and still maximise its light intake, this is very important to understand to fully grasp what is coming next.
Reflection
Thou many out there is arguing that ISO is technically
not a part of the exposure triangle;
the third building block being the intensity of the light,
not the sensors sensitivity.
They are technically correct, however;
I personally found that most of my students found it easier to understand ISO
when pretending that it is the sensors light sensitivity!
So let’s stick with that for now...
The Active Choice
What does all this negativity around camera noice come from?
The most common time to use an increased ISO is in the evening or night time and indoors because there is naturally less light. The theory behind this is correct but the ISO offers you many more opportunities then that!
The first thing most people are taught about ISO is that it creates grain in your pictures - and grain is bad - so you should always aim to shoot at ISO 100, cause anything ells is not good enough.
(When shooting with this mentality I’m not surprised that the argument of ISO not being a part of the exposure triangle comes up…)
In the end it is a tool, and it is all about how you use it.
This is how I spontaneously feel about it…
So the moral of the story is do not get caught up in it to much,
learn how to use your camera first
and let the ISO help you capture those stunning images!!
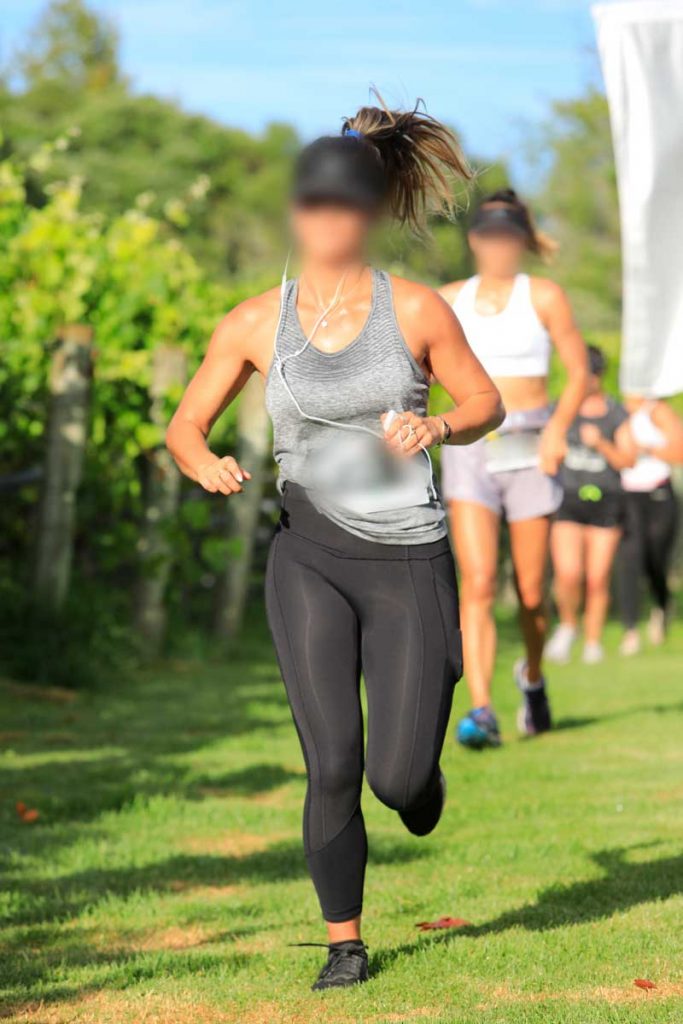
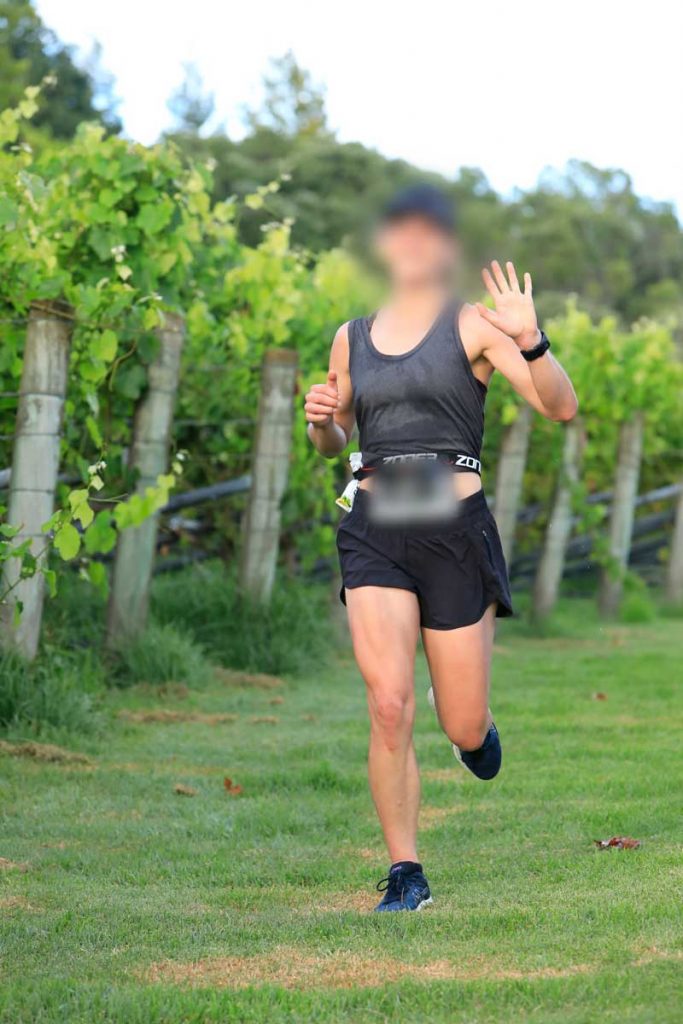
Above Images are both straight out of the camera JPGs.
By raising the ISO I can still keep my shutter speed and aperture consistent.
The lack of sun in the last picture does contribute to the less saturated colours.
(Blurred faces & bib due to privacy)
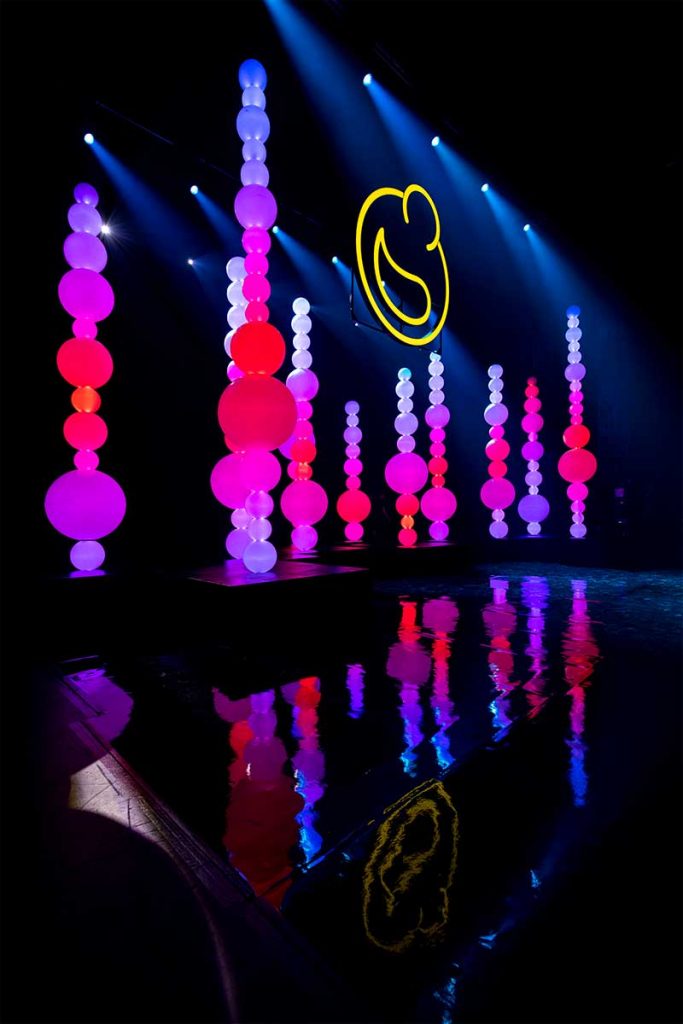
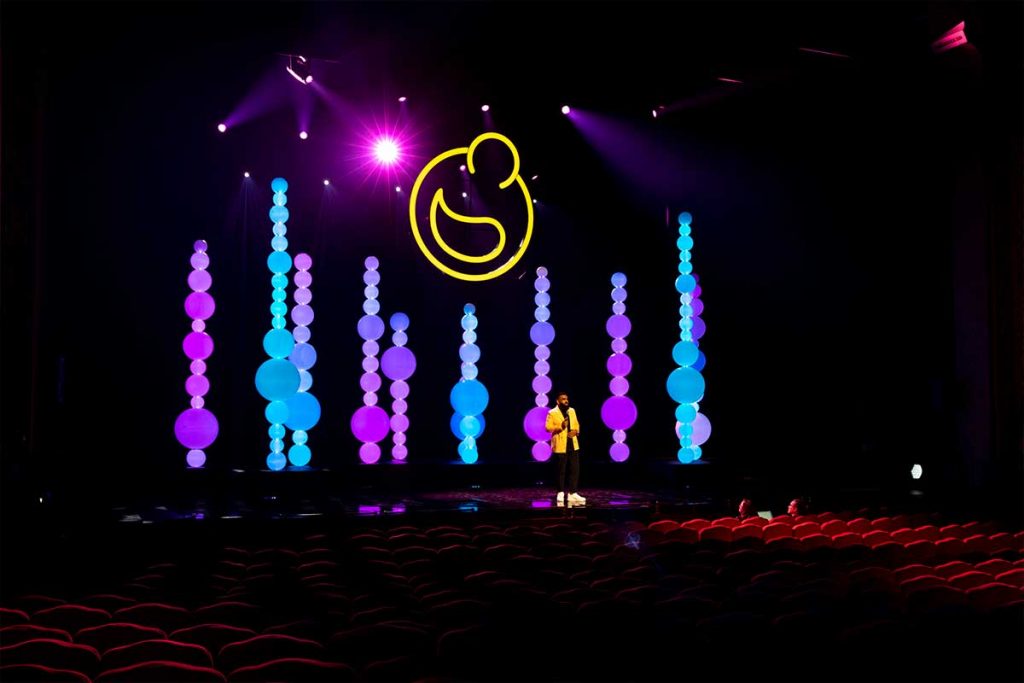
Above Images are from the rehearsal of Big Picture NEP Live Events Best Foods Christmas Comedy Gala.
I knew that colours are very important to them, so I dint want to raise my ISO to much. Using a tripod enabled me to close down my aperture slightly -to ensure my images are sharp- while using a slightly slower shutter speed.
So where is this fear coming from?
Reading about ISO online it seams to be more often than not all about the noice ISO may create than the actual benefit ISO gives you, namely - light!
Shifting my own mindset from the negativity of “all this noice” to the positivity of “all the light it gives” enabled me to use the ISO as the tool it was intended to be in the first place.
Remember that ISO is not there to hold you back, it is there to serve you.
Reality is that any camera that is being release today has very good ISO performance.
Learning ISO
When learning ISO be aware that the higher ISO you use, the…
- More Light +
- More Noice -
- Less Sharpness -
- Less Colour Depth and Tonal Range -
To get a better understanding of how your specific camera preforms you might benefit from spending some time at this amazing site Called DXO Mark
In the image bellow you can see how the curve showing Dynamic Range drastically falls when using a higher ISO.
Make it work for you
How do I use the ISO?
ISO increases and decreases the same way as shutter speed. By doubling the number you get 1 more stop of light. By halving it you loose one stop of light.
Bellow image shows you -in Full Stops- the noice raising your ISO adds to your image.
(This is indicative only and depends on the performance of your camera)

Remember
Full - Stops
A stop of light is how light is measured;
it is just as 1 litre of a water, 1 kg of flour - 1 stop of light.
Struggling with getting started with M?
- Quick Tips; try f/8 - 1/250 - adjust your ISO until the Exposure Meter indicates around 0)
Grain
So What Is Noice?
Noice is that uneven grainy look you get when using a high ISO (Primarily shows up in darker shooting conditions) It is pixels that are not representing the colour or the exposure of the scene correctly. It is most noticeable in the shadows.
When shooting analog it was referred to as grain and majority of photographers would agree that it looks a lot better then the digital noice sensors creates. You have different kind of noice, normal and colour noice.
The reason why I seldom worry about noice is that very rarely my images are being viewed at 400%, my clients certainly is not. If my image looks great at 100% then 9.9 times out of 10 that will do for my clients needs.
And for those 0.1 times where the noice is a problem, there is a number of things you can do to help the situation…
Grain
How Can I Get Rid of Noice?
If the noice is bothering you there is a number of things you can do to mimes it. To start with, every camera has a breaking point where if you pass it the images just goes too noisy.
Back in the days when I shoot on a 5d mk II for example I remember this point to be ISO 1600, but now when Im shooting on a 5d Mk IV it sits around 5 000 (depending on the lighting situation) The breaking point is based on your own toleration to noice and your shooting style. I have meet photographers that refuses to use their $5 000 camera on ISO higher than ISO 400 cause they claim it is just not good enough…
Bellow photos are shot for Saturn Advice.


Here is some tips to prevent noice from coming tough in your photos:
- Get your exposure right in the camera; on higher ISO noice becomes much more prominent when you adjust your exposure in an editing software.
- Be aware that long exposures can heat up your sensor and create noice.
- Activate in camera High ISO Noice Reduction or Long Exposure Noise Reduction if available (this will make the camera render the same amount of time as shutter speed you used, ex 10 sec shutter speed will ad a 10 sec processing time of the noice reduction.)
- Shoot RAW instead of Jpg will enable a much greater noice reduction result in post production
- Noice reduction using 3rd party software like Photoshop or Lightroom
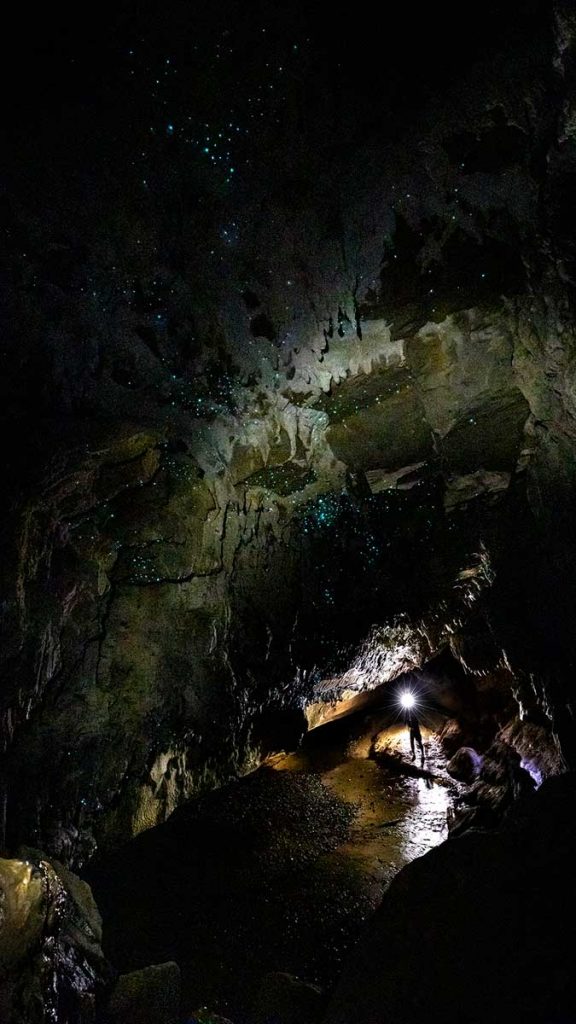


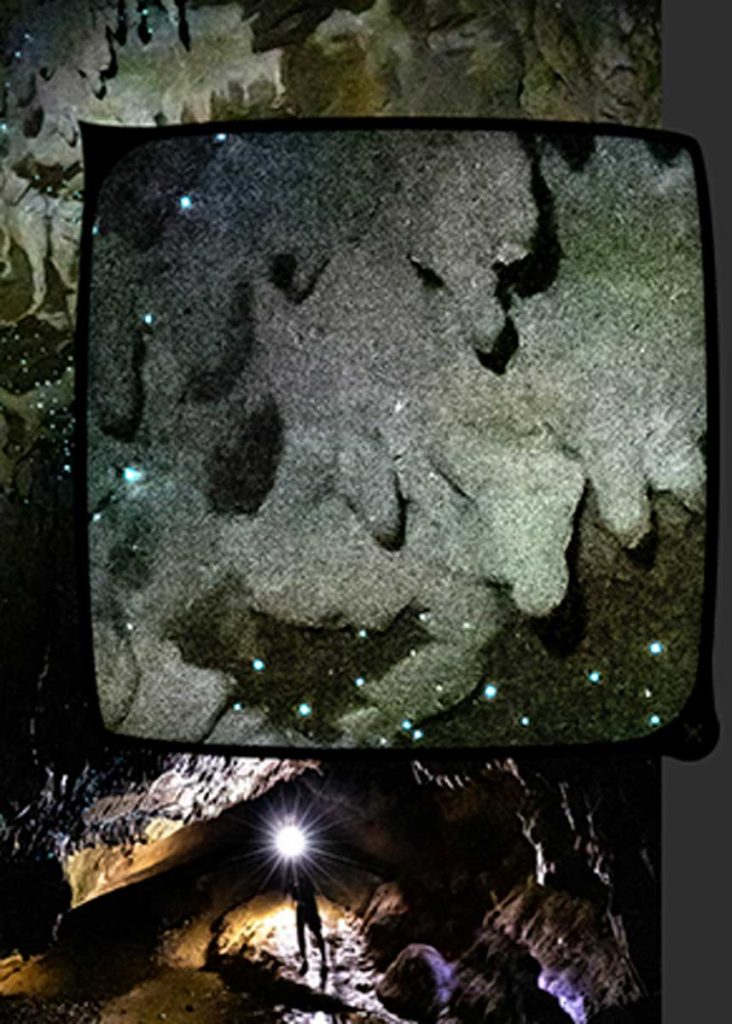
Bear in mind that noice is much more noticeable in shadows than in highlights.
This is because noice is random pixels that is not in the right exposure; in the black you will have bright pixels. So when you apply a noice reduction filter the picture may appear slightly darker, this is because the bright pixels in the shadows are removed.
Tipps:
The same thing applies when using flash; flash light cleans up your subjects skin tones. Even an under exposed pop up flash will do some good to prevent that grain in peoples faces.
(Insert photo from event with flash and failed flash) - physiology lady
What ISO shall I use?
Indicative Only
Guidlines:
Sunny Day – ISO 100
Slight overcast or in the shade – ISO 400
Heavy overcast or rain – ISO 800-1600
Indoors – ISO 1600 +
Night Time – ISO 3200 +
Sunny Day
Slight overcast or in the shade
Heavy overcast or rain
Indoors
Night Time
ISO 100
ISO 400
ISO 800-1600
ISO 1600 +
ISO 3200 +
How do I shoot Astro Photography?
Indicative Only
Astro is not my speciality but the rule of thumb is;
- Find a spot far away from any light pollution (city lights)
- You need a tripod or a sandbag (I used a zipp look bag full of rice for a long time then I want to admit…)
- Use the lens you own that has the widest aperture and close it down 2 stops to maximise the sharpness.

- Choose an ISO that gives you the exposure you are after (make sure you don’t underexpose! remember that you are looking into a bright screen in darkness so whatever you see on the screen will appear brighter than it actually is) I would advice you to try starting out at ISO 3 200 – ISO 6 400.
- Then choose a shutter speed that gives the effect you want, the longer shutter speed the longer star trails. If you don’t want start trails you might want to start around 10 seconds, your focal length will determine if you get star trails or not. The higher focal length the less star trails due to the rotation of the earth.
- Manually focus on the stars (slightly back from the hyper focal length)
Exercise Recommendation:

Remember!
There is no right or wrong. You as the photographer determines how the final image will appear. Not how sharp your image is.
Whats Next?
Quote of the Month:
“When there's darkness on earth, be a light in the world.”
― Jeanette Coron
Ida Larsson
Funder and photographer
White Lynx Photography
(+64) 022 494 8569
Info@whitelynxphotography.com
www.whitelynxphotography.com

Comments are closed.

